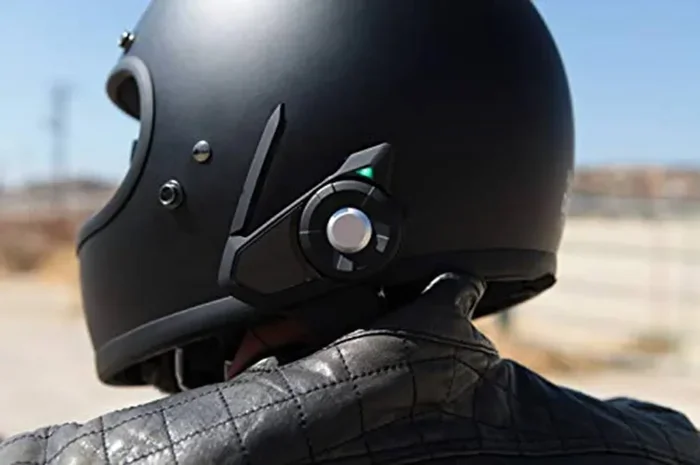
Can You Make Any Helmet Bluetooth Ready for Riding
Yes, you can make any helmet Bluetooth ready with the right kit and a little patience. Whether you ride a motorcycle, bike, or scooter, Bluetooth helmet conversion is easier than ever. This guide walks you through every step, from choosing the best kit to avoiding common mistakes. You will learn about speaker placement, pairing tips, and how to enjoy wireless riding audio safely. Read on to turn your plain helmet into a connected riding companion.
Have you ever been on a ride and wished you could stream music, take calls, or talk to your riding buddy without taking off your helmet? The good news is that Bluetooth helmet technology has come a long way. You do not need to buy a brand-new helmet just to get wireless audio. In fact, making any helmet Bluetooth ready is one of the simplest and most rewarding upgrades you can do for your riding experience.
Whether you ride a motorcycle, a bicycle, or even a scooter, a Bluetooth helmet kit can transform your gear. These kits are designed to fit inside almost any helmet style, from full-face to open-face and even half-helmets. The process is simple, the cost is reasonable, and the results are impressive. Let us dive into everything you need to know about converting your helmet to Bluetooth and enjoying wireless audio on every ride.
Key Takeaways
- Any helmet can be converted: You do not need a special helmet to add Bluetooth functionality.
- Bluetooth kits are affordable: Many quality kits cost between $30 and $150.
- Installation is straightforward: Most kits come with adhesive or clip-on speakers that fit inside any helmet.
- Safety matters: Keep volume low enough to hear traffic and your surroundings while riding.
- Multiple devices connect: Modern Bluetooth helmet systems let you pair with phones, GPS devices, and even passengers.
- Battery life varies: Most kits offer 8 to 15 hours of playback on a single charge.
- Water resistance is key: Choose kits with at least IPX4 rating for all-weather riding.
📑 Table of Contents
- What Does It Mean to Make a Helmet Bluetooth Ready?
- How to Convert Any Helmet to Bluetooth
- Best Bluetooth Kits for Any Helmet
- Benefits of Having Bluetooth in Your Helmet
- Common Mistakes to Avoid When Installing a Bluetooth Helmet Kit
- Quick Tips for the Best Bluetooth Helmet Experience
- Frequently Asked Questions
- Conclusion
What Does It Mean to Make a Helmet Bluetooth Ready?
When we say a helmet is Bluetooth ready, we mean it has the ability to connect wirelessly to your phone or other devices. This connection lets you listen to music, receive calls, use GPS navigation, and even talk to other riders. A Bluetooth helmet conversion involves adding a small audio kit inside your existing helmet. The kit typically includes speakers, a control module, and a microphone.
The beauty of this approach is that you keep your favorite helmet. You simply add Bluetooth capability without changing the fit or feel of the helmet. Most kits are designed to be barely noticeable once installed. They sit inside the cheek pads or along the ear area of the helmet. This means your riding gear stays comfortable while gaining new smart features.
How Bluetooth Technology Works in Helmets
Bluetooth is a short-range wireless technology that sends audio signals between devices. In a helmet setup, the Bluetooth module connects to your phone using a Bluetooth pairing process. Once paired, audio streams directly from your phone to the helmet speakers. The range is typically around 30 feet, which is more than enough for riding.
Most modern helmet communication systems use Bluetooth 5.0 or later. This means faster connections, better battery life, and fewer dropped signals. Some advanced kits also support multipoint pairing, which lets you connect to two devices at the same time. So you can listen to music from your phone while still receiving calls from another device.
How to Convert Any Helmet to Bluetooth
The process of making your helmet Bluetooth ready is simpler than most people think. You do not need special tools or technical skills. With the right kit and about 30 minutes, you can have your helmet fully connected. Here is a closer look at how the process works.
Step 1: Choose Your Bluetooth Kit
The first step is picking the right Bluetooth helmet kit. There are many options on the market, and they vary in price and features. Some kits are basic and only offer audio playback. Others include intercom features, noise cancellation, and even FM radio. Consider what matters most to you before you buy.
Think about your riding style and how often you ride. A casual weekend rider might not need all the bells and whistles. But a daily commuter or long-distance rider will benefit from advanced features like voice commands and noise-canceling microphones. Always check the water resistance rating too, especially if you ride in unpredictable weather.
Step 2: Prepare Your Helmet
Before you start installing, make sure your helmet is clean and dry. Remove the cheek pads if they are detachable. This gives you better access to the inside of the helmet and makes speaker placement much easier. Lay out all the parts of your Bluetooth kit so you can see what you are working with.
Most kits come with adhesive pads or clips to hold the speakers in place. Some kits also include adhesive strips for the control module. Read the instructions that come with your kit carefully. Every kit is a little different, and following the guide ensures the best results for your helmet audio system.
Step 3: Install the Speakers
The speakers are the most important part of the kit. They deliver the sound directly into your ears while you ride. Place each speaker against the inside of the helmet, near your ears. Most kits work best when the speakers sit right against the cheek pad area.
Press the speakers firmly into place. If your kit uses adhesive, make sure the surface is clean before you stick them on. For clip-on speakers, simply slide them into the designated grooves. Proper speaker placement makes a big difference in sound quality. Take your time with this step to get the best helmet audio experience.
Step 4: Connect the Control Module
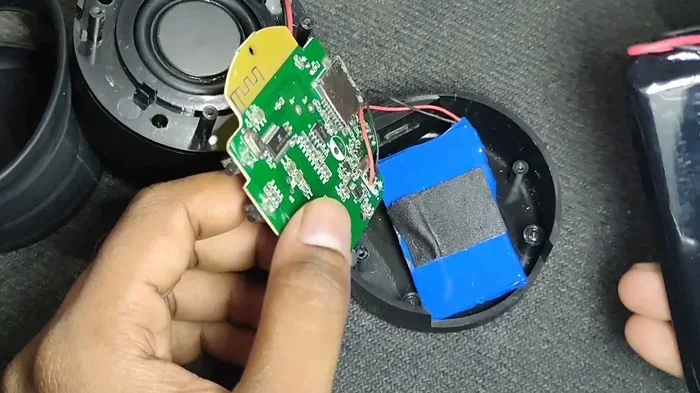
The control module is the brain of your Bluetooth helmet setup. It houses the Bluetooth chip, battery, and buttons for volume and playback. Most riders place the module near the back of the helmet, where it stays out of the way. You can use the included adhesive or Velcro strips to secure it.
Make sure the module is not pressing against your head. You want it to feel comfortable during long rides. Also, check that the buttons are easy to reach. Some kits let you route the wires along the inside padding of the helmet. This keeps everything neat and prevents wiring from getting in your way.
Step 5: Pair Your Devices
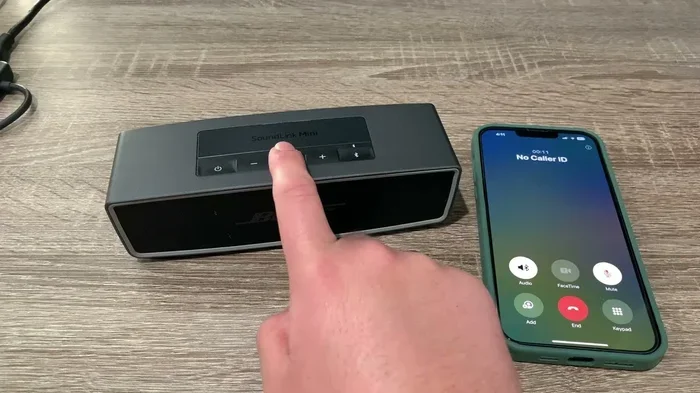
Once everything is installed, it is time to pair your devices. Turn on the Bluetooth module and put your phone in pairing mode. Look for the helmet system on your phone’s Bluetooth list and tap to connect. Most kits have a simple pairing process that takes less than a minute.
After pairing, test the audio by playing a song or making a test call. Adjust the volume to a level where you can still hear traffic. Safety should always come first when riding with audio. You want to enjoy your music without losing awareness of your surroundings.
Best Bluetooth Kits for Any Helmet
Not all Bluetooth helmet kits are created equal. Some are designed for specific helmet types, while others work universally. Here are a few things to look for when shopping for the best kit for your needs.
Features to Look For
- Universal fit: The kit should work with any helmet, regardless of brand or style.
- Good battery life: Look for at least 8 hours of playback on a single charge.
- Water resistance: An IPX4 rating or higher handles rain and sweat without issues.
- Easy controls: Buttons should be simple to use, even with gloves on.
- Clear microphone: A noise-canceling mic ensures your voice comes through clearly on calls.
- Quick charge: USB charging that takes under two hours is very convenient.
- Intercom capability: Some kits let you talk to other riders within Bluetooth range.
Budget vs Premium Kits
Budget kits in the $30 to $60 range offer solid audio and basic Bluetooth connectivity. They are perfect for casual riders who want a simple upgrade. Premium kits in the $100 to $150 range add features like noise cancellation, voice assistant support, and longer battery life. These are ideal for riders who spend a lot of time on the road.
Some popular brands in the helmet Bluetooth market include Sena, Cardo, and Scala Rider. These brands are known for quality and durability. However, many lesser-known brands also offer excellent value. The key is to read reviews and compare features before you buy.
Benefits of Having Bluetooth in Your Helmet
Adding Bluetooth to your helmet brings a lot more than just music. It changes the way you ride and interact with the world around you. Here are some of the biggest benefits of a Bluetooth helmet audio system.
Stay Connected While Riding
One of the best things about a Bluetooth helmet kit is staying connected. You can take calls, hear navigation prompts, and talk to your riding group. This is especially useful on long trips where staying in touch keeps everyone safe. You do not have to stop or pull out your phone to stay connected.
Enjoy Music and Podcasts
Riding becomes more enjoyable when you can listen to your favorite music or podcasts. A wireless helmet speaker lets you stream audio directly into your ears. You can create playlists for different moods or listen to audiobooks on long commutes. Just remember to keep the volume at a safe level.
Improve Navigation
GPS navigation is much easier when you can hear directions through your helmet. Instead of looking at your phone screen, you simply listen to the voice prompts. This keeps your eyes on the road and your hands on the handlebars. A helmet communication system with GPS support is a game-changer for riders who explore new routes.
Enhance Group Rides
If you ride with a group, a helmet intercom feature is incredibly valuable. You can talk to other riders in real time, share directions, or just chat. This makes group rides more fun and safer. Everyone stays in the loop and can coordinate better on the road.
Common Mistakes to Avoid When Installing a Bluetooth Helmet Kit
Even though the installation process is simple, there are a few common mistakes riders make. Avoiding these pitfalls ensures your Bluetooth helmet conversion works perfectly from day one.
Skipping the Instructions
Every kit comes with a user guide for a reason. Skipping the instructions can lead to poor speaker placement or wiring issues. Take a few extra minutes to read through the guide before you start. This small step saves a lot of frustration later.
Placing Speakers Too Tightly
Some riders press the speakers too hard against their ears. This can cause discomfort during long rides. The speakers should sit snugly but not press into your head. Proper fit is essential for both comfort and sound quality.
Ignoring Battery Maintenance
Forgetting to charge your Bluetooth helmet kit before a ride is a common mistake. Make it a habit to charge the module after every ride. Most kits have LED indicators that show battery level. A quick check before you head out keeps you from getting stuck with a dead battery.
Setting the Volume Too High
It is tempting to crank up the volume, especially on noisy roads. But high volume can block out important sounds like horns, sirens, and engines. Keep the volume at a level where you can still hear your surroundings. Safe riding always comes first when enjoying helmet audio.
Choosing the Wrong Kit for Your Helmet Type
Not every kit works well with every helmet. Full-face helmets have more space for speakers, while half-helmets have limited room. Measure your helmet’s interior before you buy a kit. Choosing a compatible Bluetooth helmet adapter ensures a clean and comfortable installation.
Quick Tips for the Best Bluetooth Helmet Experience
Here are some quick tips to help you get the most out of your Bluetooth helmet setup:
- Clean the helmet interior before installing the kit for better adhesive grip.
- Test the system before your first ride to make sure everything works properly.
- Use earplugs with built-in speakers for better sound isolation and comfort.
- Keep the control module away from rain even if the kit is water-resistant.
- Restart the Bluetooth module if you experience connection issues during a ride.
- Update the firmware if your kit supports it for improved performance.
- Store the kit in a dry place when not in use to extend its lifespan.
Frequently Asked Questions
Can I Make Any Helmet Bluetooth Ready?
Yes, you can make almost any helmet Bluetooth ready using a universal Bluetooth kit. These kits are designed to fit inside full-face, open-face, modular, and even half-helmets. The key is to choose a kit that matches your helmet’s size and interior space. Most kits come with adjustable adhesive or clip-on speakers that work with various helmet styles.
Is It Safe to Ride with Bluetooth Audio Playing?
Riding with Bluetooth audio is safe as long as you keep the volume at a reasonable level. You should still be able to hear traffic, horns, and other important sounds around you. Many riders use low-volume music or podcasts that do not overpower their awareness. Always prioritize safety over entertainment while on the road.
How Long Does It Take to Install a Bluetooth Helmet Kit?
Most riders can install a Bluetooth helmet kit in about 20 to 40 minutes. The process involves placing speakers, attaching the control module, and pairing your device. If you have done it once, subsequent installations take even less time. The instructions included with most kits make the process very straightforward.
Can Two Riders Connect Their Helmets to Each Other?
Yes, many helmet intercom systems allow two riders to connect their helmets wirelessly. This is done through a dedicated intercom channel on the Bluetooth module. You can talk to your riding partner up to a certain distance, usually around 500 to 1000 feet. This feature is great for group rides and touring with a passenger.
Will a Bluetooth Kit Affect the Fit of My Helmet?
A good Bluetooth kit should not noticeably change the fit of your helmet. The speakers are thin and sit inside the cheek pad area. The control module is small and attaches to the inner shell. If you choose a kit that is specifically designed for a snug fit, you will barely notice it is there. Comfort should remain the same as your original helmet.
Can I Use My Bluetooth Helmet Kit With Multiple Helmets?
Yes, most Bluetooth helmet kits are portable and can be moved between helmets. You simply remove the speakers and control module from one helmet and install them in another. Some riders keep a kit for their full-face helmet and another for their open-face helmet. This makes the investment in a Bluetooth kit even more worthwhile.
Conclusion
Making any helmet Bluetooth ready is one of the best upgrades you can make for your riding experience. It is simple, affordable, and brings a whole new level of convenience and enjoyment to every ride. Whether you listen to music, take calls, navigate with GPS, or talk to fellow riders, a Bluetooth helmet kit delivers it all.
The process is straightforward enough for anyone to do at home. You do not need special skills or expensive equipment. Just pick the right kit, follow the steps, and enjoy your new wireless riding audio. With so many options available today, there has never been a better time to convert your helmet to Bluetooth.
Start by choosing a kit that fits your needs and budget. Follow the installation steps carefully. And always remember that safety comes first. Keep your volume low, stay aware of your surroundings, and enjoy the ride. Your helmet is about to become your smartest riding companion yet.